


Inking is a fairly simple process as most of the drawing decisions have been made while pencilling, but concentration is needed as the drawings are finalised and 'made real'. I used a dip pen with a Hunt 107 nib which gives a pleasing clean line and is nicely responsive to width variation depending on how hard you press on the paper (the more pressure, the wider the tines separate, allowing a thicker flow of ink through). Some earlier pages of The Rainbow Orchid (pages 4-36 of volume 1 and pages 37-45 of volume 2) were drawn with a Rapidograph, a more technical pen with a flat line. You can see the difference between the two lines below.
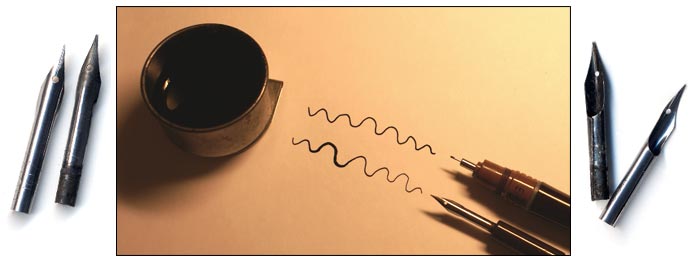
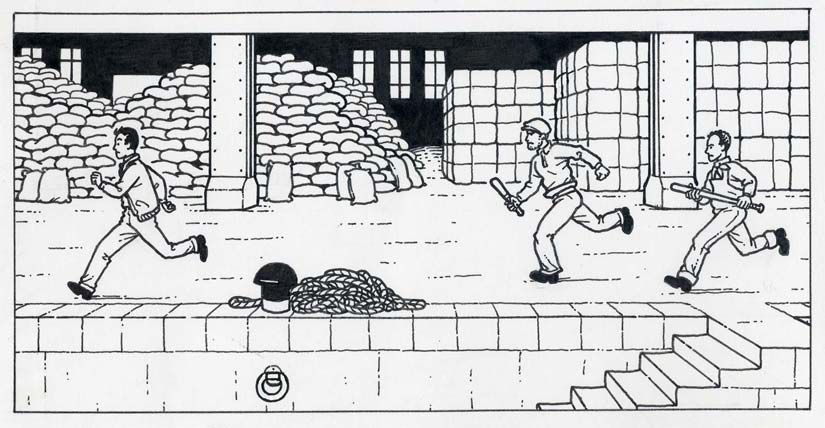
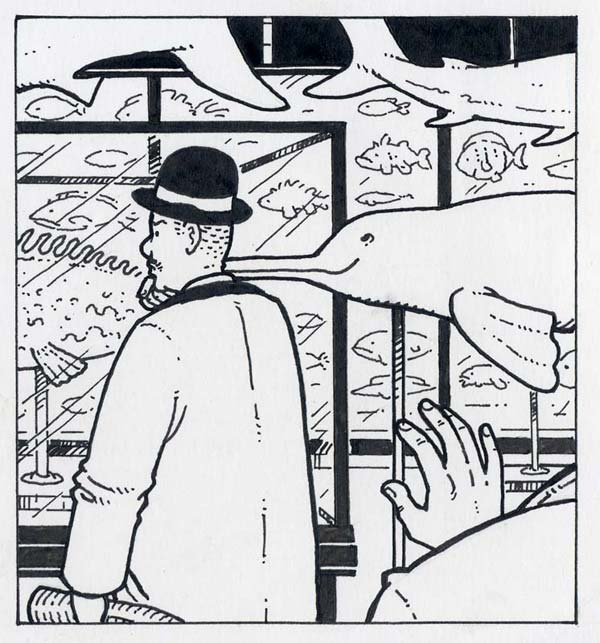
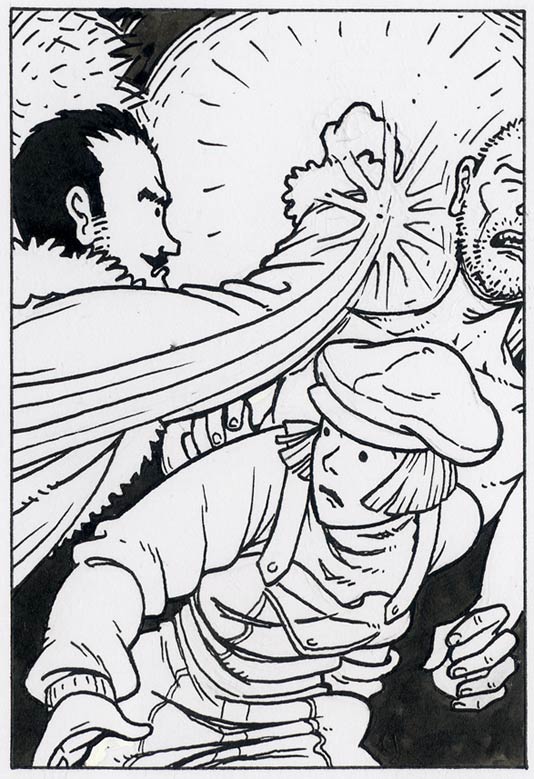
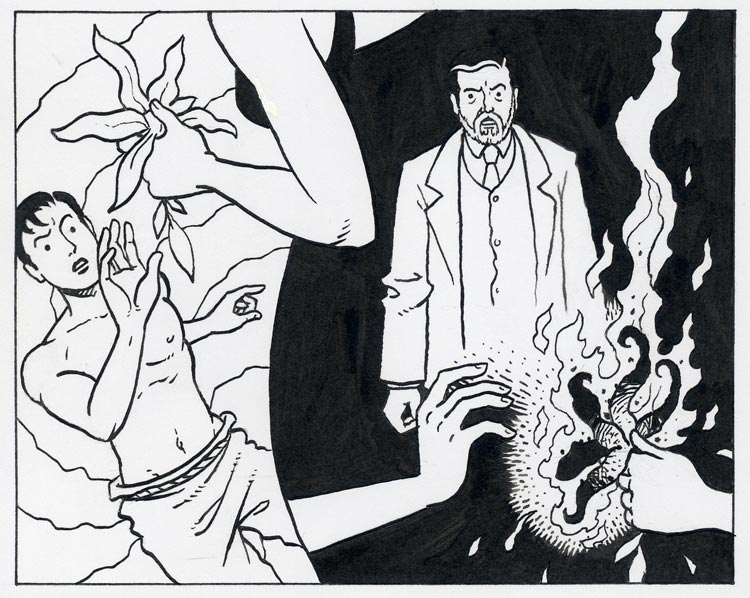
I soon moved to dip-pen only (though now I do a lot more fully digital work), with the Rapidograph is used for straight ruled lines where needed (eg. panel borders and architecture). You can see a video I made about dip pen nibs here. Solid blacks are filled in using a brush. Here are some examples of inked panels.
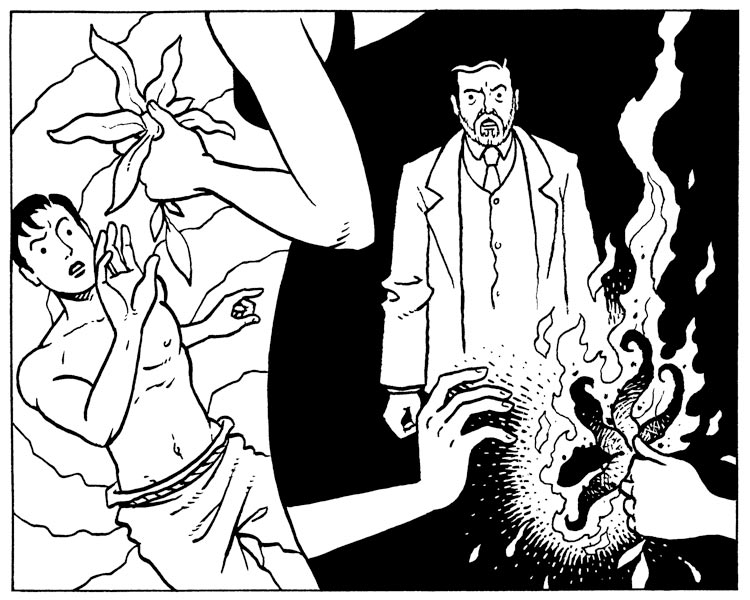
When the page has been inked, and the pencil erased away, the page is scanned into the computer (Photoshop running on an Apple Mac) as a 600dpi bitmap, and there will usually be a little extra 'digital inking', meaning a bit of a tidy up and adding any white lines, which I used to do with white ink, but now mainly do digitally (see last example above).
Once the inks are scanned and completed, the next task is to colour the page.